Mattermost slash commands
Introduced in GitLab 8.14
Mattermost commands give users an extra interface to perform common operations from the chat environment. This allows one to, for example, create an issue as soon as the idea was discussed in Mattermost.
Prerequisites
Mattermost 3.4 and up is required.
If you have the Omnibus GitLab package installed, Mattermost is already bundled in it. All you have to do is configure it. Read more in the Omnibus GitLab Mattermost documentation.
Automated Configuration
If Mattermost is installed on the same server as GitLab, the configuration process can be done for you by GitLab.
Go to the Mattermost Slash Command service on your project and click the 'Add to Mattermost' button.
Manual Configuration
The configuration consists of two parts. First you need to enable the slash commands in Mattermost and then enable the service in GitLab.
Step 1. Enable custom slash commands in Mattermost
This step is only required when using a source install, omnibus installs will be preconfigured with the right settings.
The first thing to do in Mattermost is to enable custom slash commands from the administrator console.
-
Log in with an account that has admin privileges and navigate to the system console.

-
Click Custom integrations and set Enable Custom Slash Commands, Enable custom integrations to override usernames, and Override custom integrations to override profile picture icons to true
Click Save at the bottom to save the changes.


Step 2. Open the Mattermost slash commands service in GitLab
-
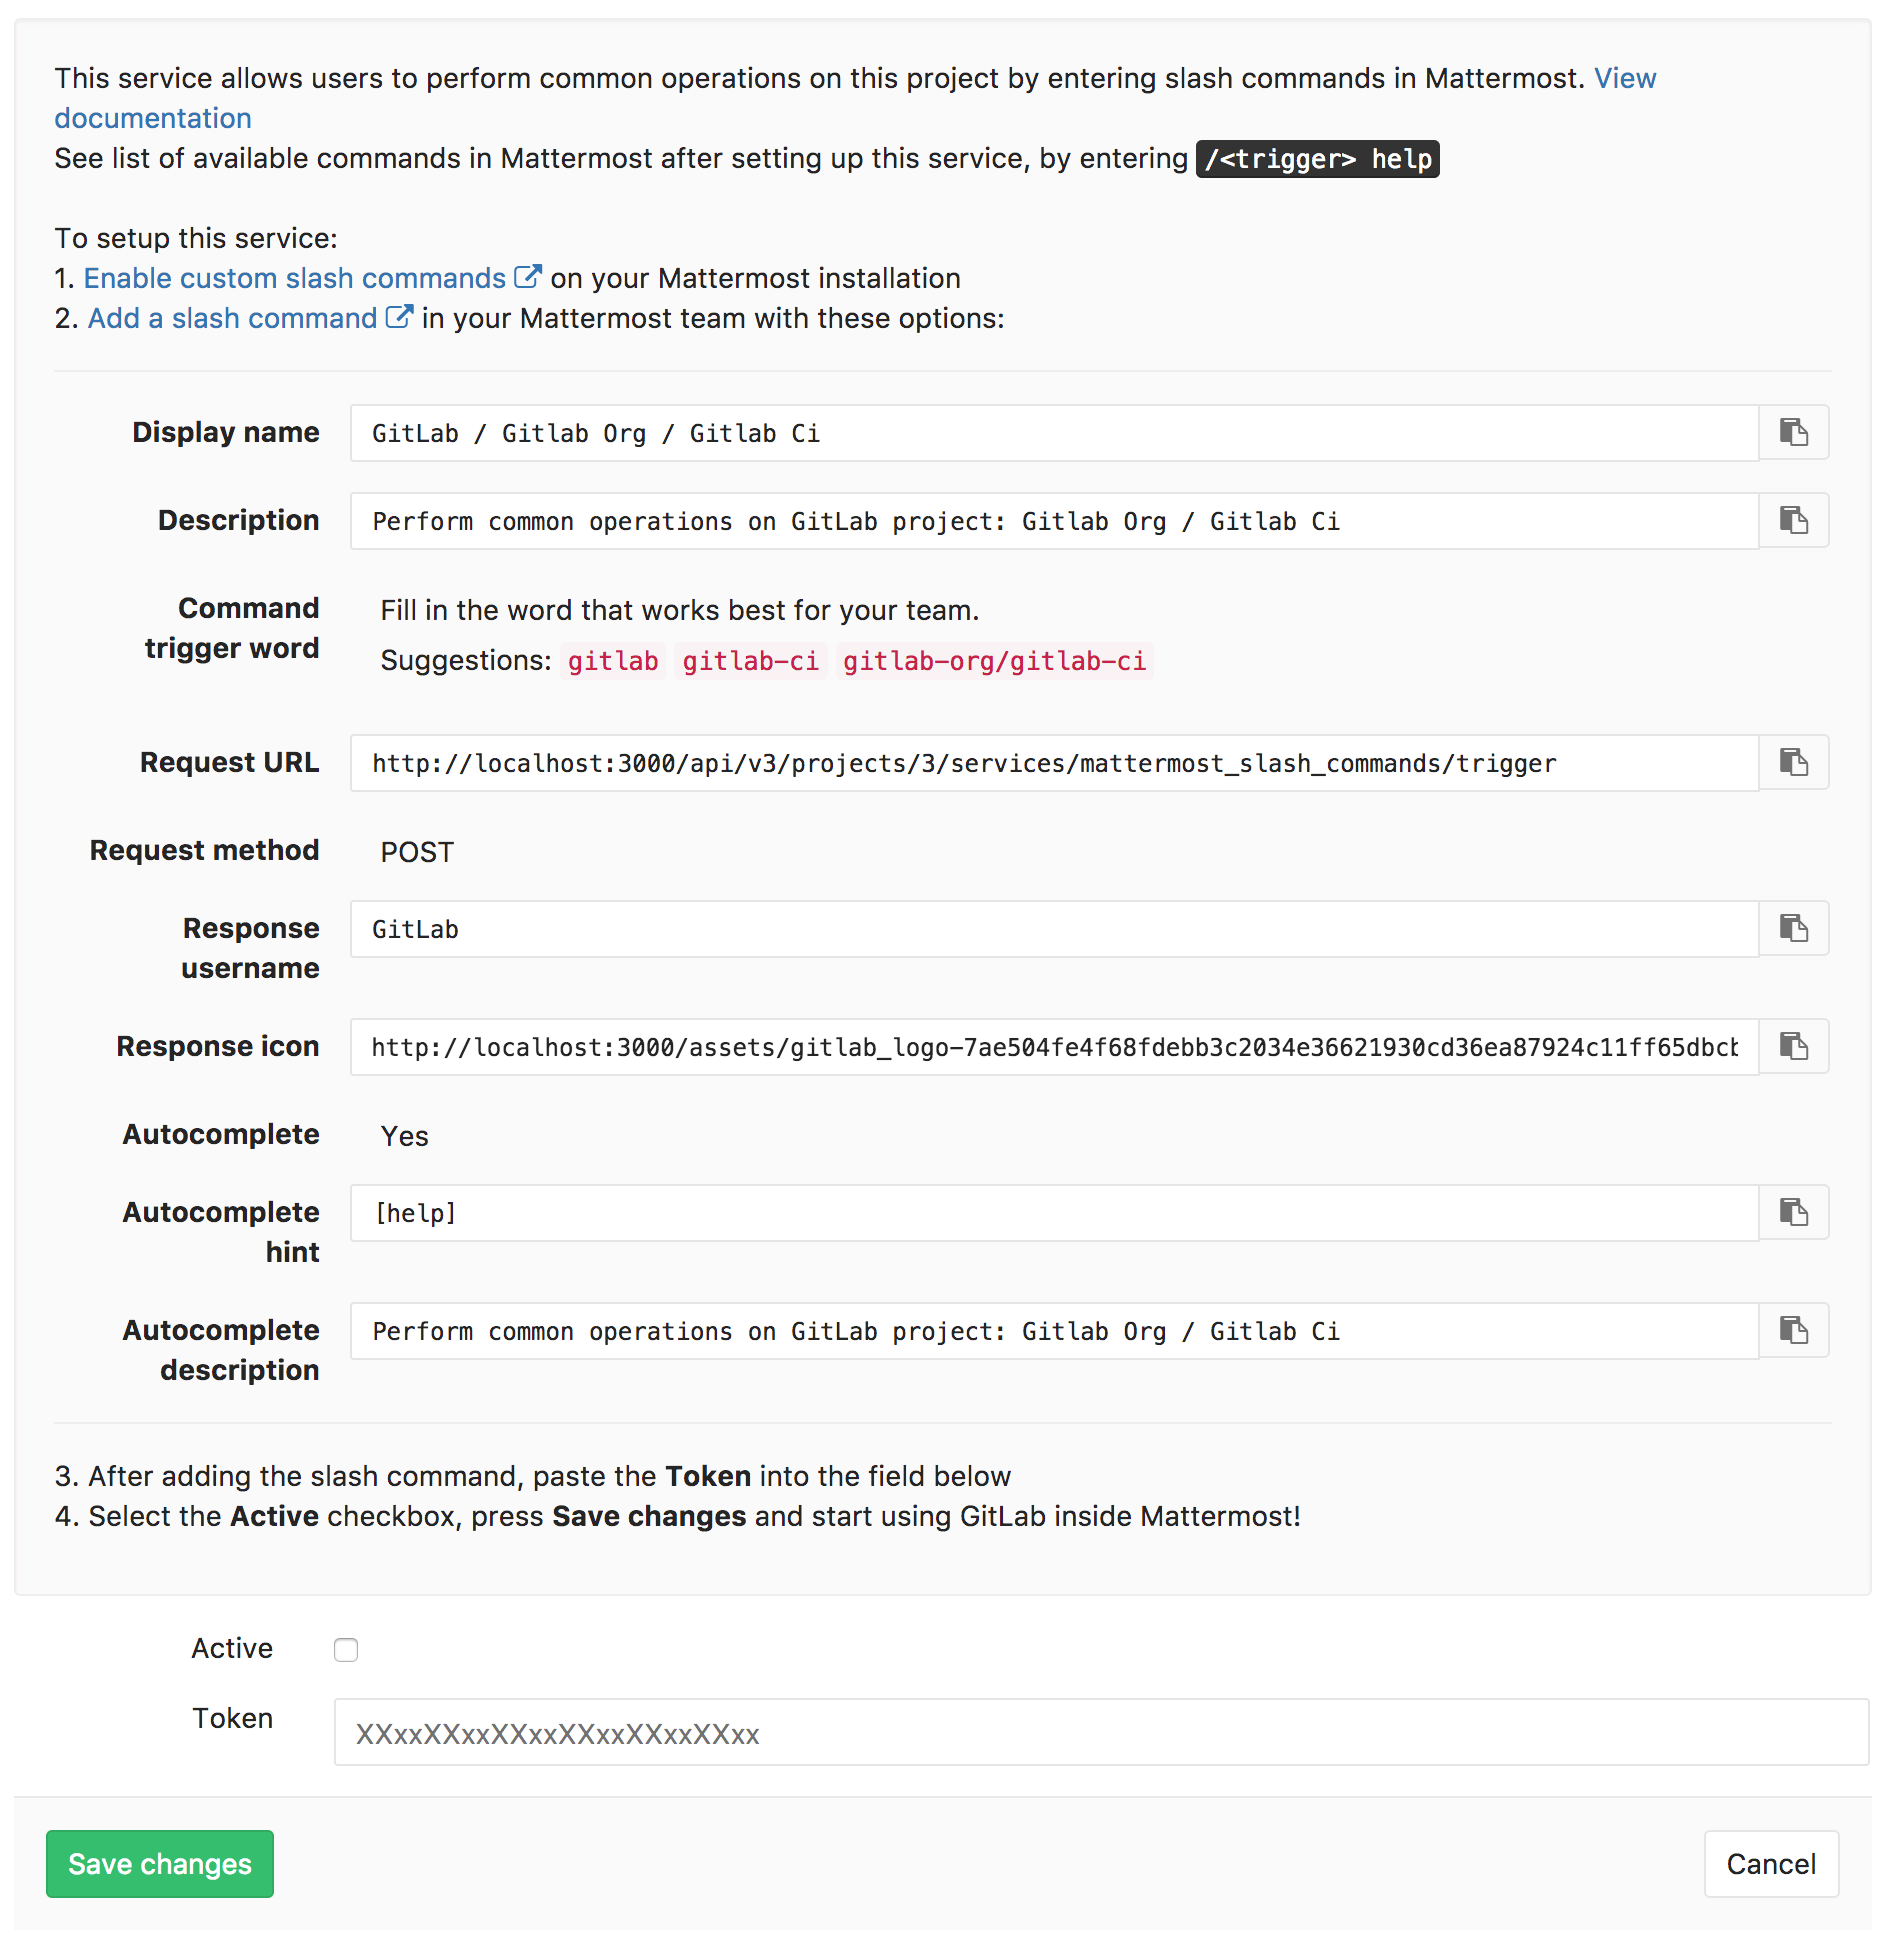
Open a new tab for GitLab, go to your project's Integrations page and select the Mattermost command service to configure it. A screen will appear with all the values you need to copy in Mattermost as described in the next step. Leave the window open.
Note: GitLab will propose some values for the Mattermost settings. The only one required to copy-paste as-is is the Request URL, all the others are just suggestions.
Proceed to the next step and create a slash command in Mattermost with the above values.
Step 3. Create a new custom slash command in Mattermost
Now that you have enabled custom slash commands in Mattermost and opened the Mattermost slash commands service in GitLab, it's time to copy these values in a new slash command.
-
Back to Mattermost, under your team page settings, you should see the Integrations option.
-
Go to the Slash Commands integration and add a new one by clicking the Add Slash Command button.
-
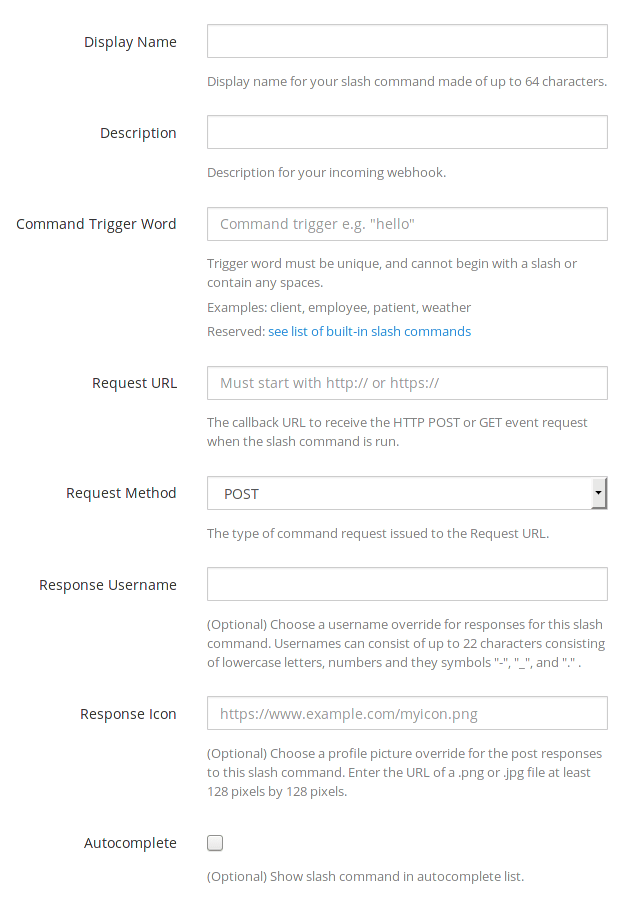
Fill in the options for the custom command as described in step 2.
Note: If you plan on connecting multiple projects, pick a slash command trigger word that relates to your projects such as
/gitlab-project-nameor even just/project-name. Only use/gitlabif you will only connect a single project to your Mattermost team. -
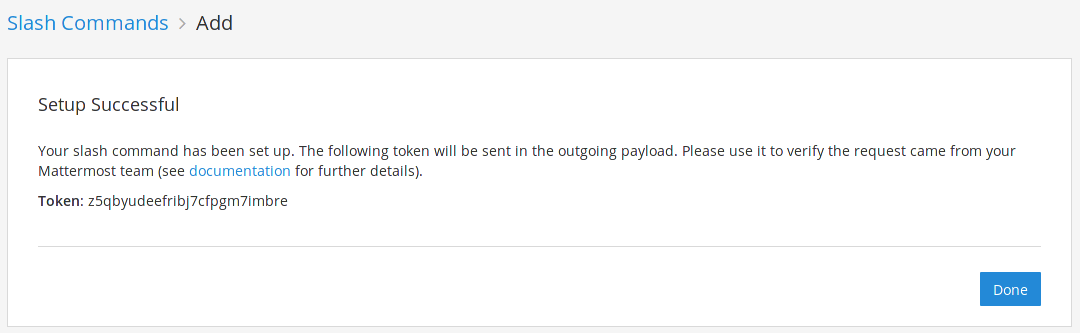
After you setup all the values, copy the token (we will use it below) and click Done.


Step 4. Copy the Mattermost token into the Mattermost slash command service
-
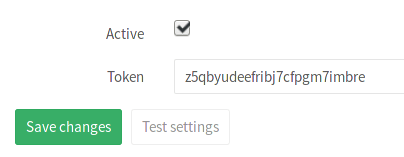
In GitLab, paste the Mattermost token you copied in the previous step and check the Active checkbox.
Click Save changes for the changes to take effect.
You are now set to start using slash commands in Mattermost that talk to the GitLab project you configured.
Authorizing Mattermost to interact with GitLab
The first time a user will interact with the newly created slash commands, Mattermost will trigger an authorization process.

This will connect your Mattermost user with your GitLab user. You can see all authorized chat accounts in your profile's page under Chat.
When the authorization process is complete, you can start interacting with GitLab using the Mattermost commands.
Available slash commands
The available slash commands are:
| Command | Description | Example |
|---|---|---|
| /<trigger> issue new <title> ⇧ Shift+↵ Enter <description> | Create a new issue in the project that <trigger> is tied to. <description> is optional. |
/gitlab issue new We need to change the homepage |
| /<trigger> issue show <issue-number> | Show the issue with ID <issue-number> from the project that <trigger> is tied to. |
/gitlab issue show 42 |
| /<trigger> deploy <environment> to <environment> | Start the CI job that deploys from one environment to another, for example staging to production. CI/CD must be properly configured. |
/gitlab deploy staging to production |
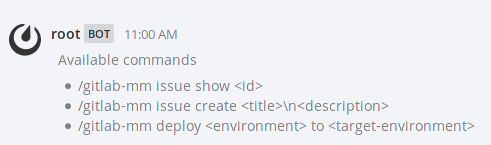
To see a list of available commands to interact with GitLab, type the trigger word followed by help. Example: /gitlab help
Permissions
The permissions to run the available commands derive from the permissions you have on the project.